It is way to easy to access built Unity3D game Assets through common Asset unpacker.
You do not want your precious assets, created in a high consuming time process, be found in other games?
Or you want to protect against cheating caused by asset editing? A wallhack needs only one replaced material.
But there is a way to fight against those!
Step 1: Mark Asset to protect
Assets you wish to protect have to be in a Resources folder.
(For example Assets\Resources\[MyAsset] or Assets\[MyDirectories]\Resources\[MyAsset]).
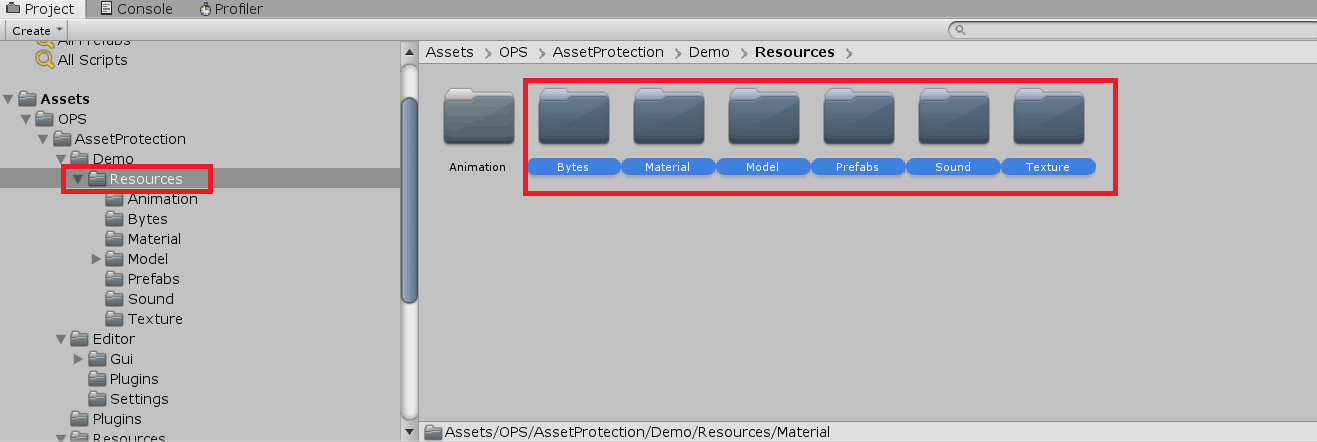
Go to UnityEditor->OPS->AssetProtection->Asset Explorer.

Here you can mark the assets you want to protect.
Supported Assets:
- Prefabs
- Materials
- Textures
- Sprites
- Animations of Sprites
- Audio
- Texts/Bytes
- Models
- Scenes
Step 2: Load Protected Assets
To load protected Assets you have multiple options.
(1) Either you can define public fields and set the belonging asset through the inspector:
|
1 2 3 4 5 6 7 8 9 10 11 |
using OPS.AssetProtection.Protected; public class EnemyManager : MonoBehaviour { public ProtectedGameObject Enemy; private void Awake() { //Use the GameObject then like: Enemy.GameObject } } |

(Important note: If you replace in scripts a not protected field type through a protected. For example: GameObject to ProtectedGameObject, you have to reassign the reference in the inspector!)
(2) Or you can load them in a script:
|
1 2 3 4 5 6 7 8 9 10 11 12 |
using OPS.AssetProtection.Protected; public class EnemyManager : MonoBehaviour { //Here it is not a ProtectedGameObject! private GameObject Enemy; private void Awake() { this.Enemy = ProtectedResources.Load("Prefabs/ZomBunny") as GameObject; } } |
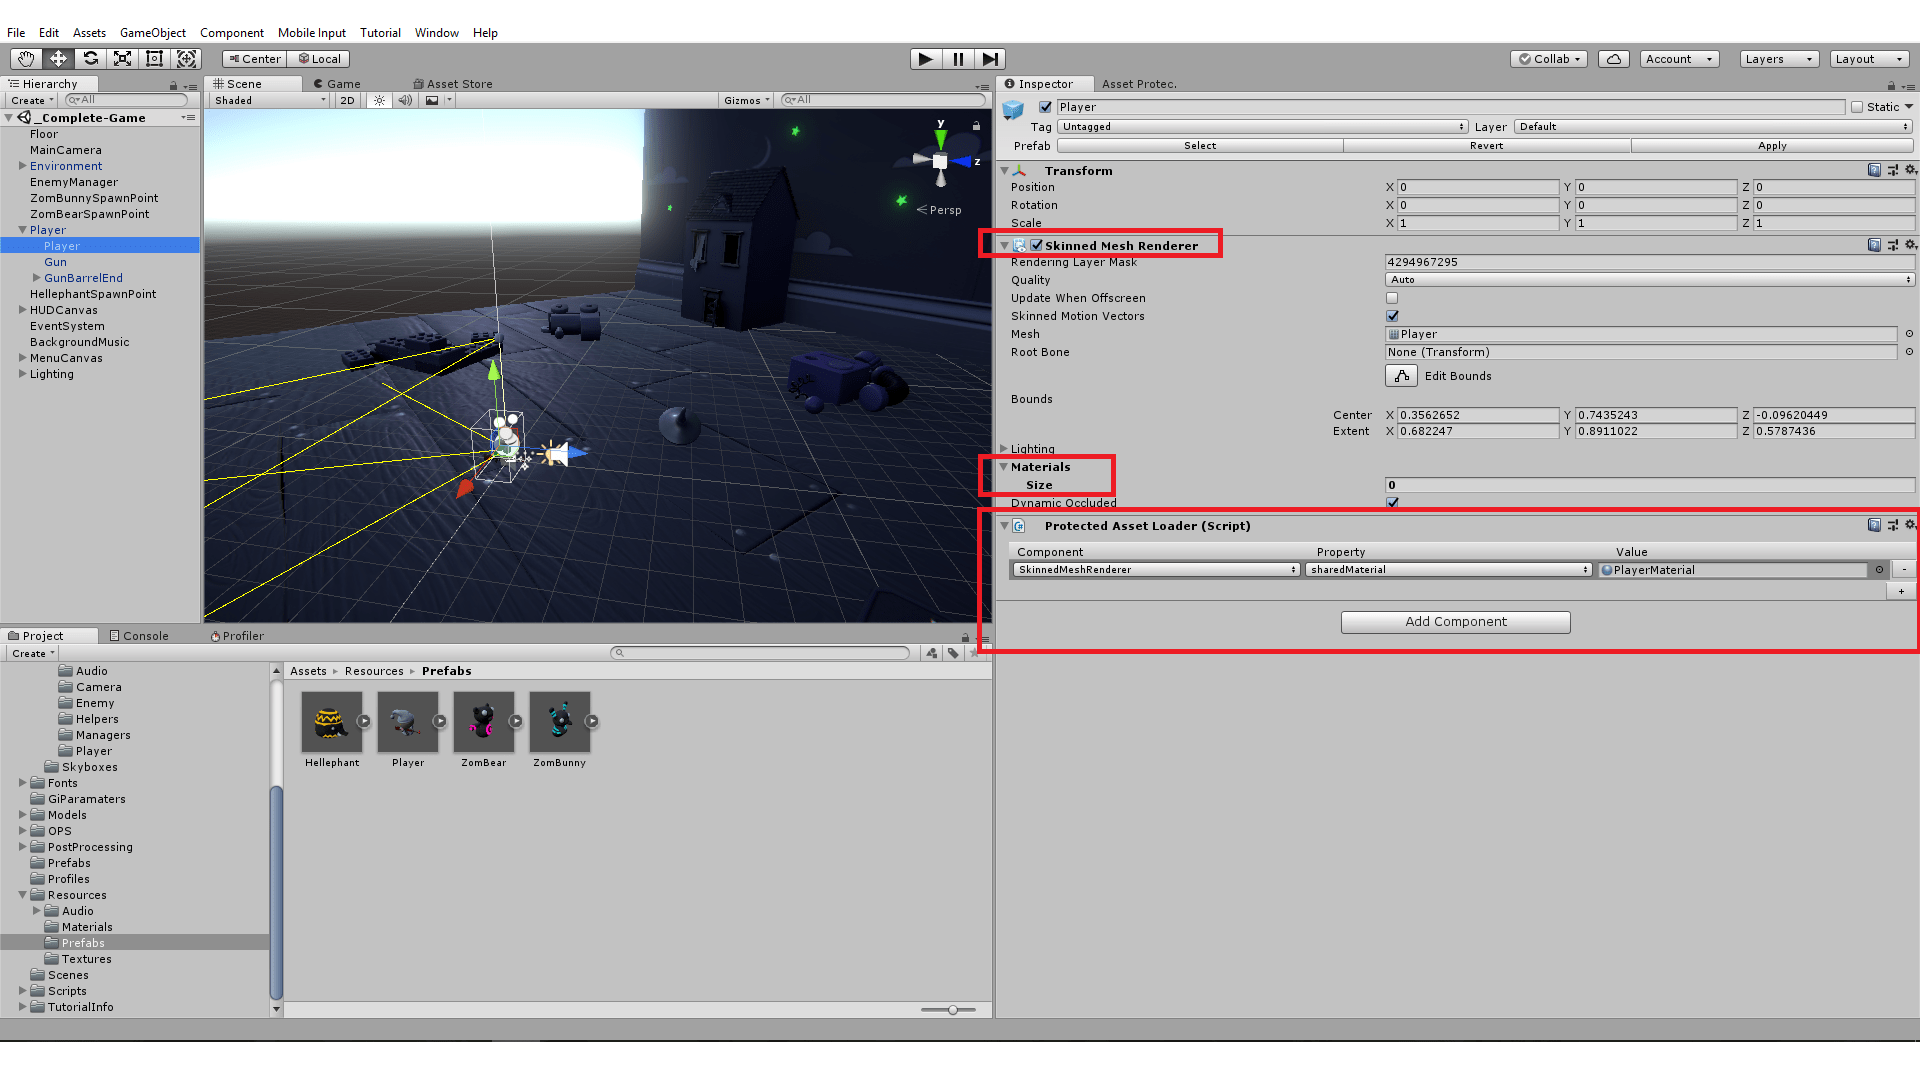
(3) Or you can use the ‘Protected Asset Loader’ behaviour to automatically set properties. (Important! You cannot set field values with the ‘Protected Asset Loader’, only properties.)
The Protected Asset Loader Behaviour can be added normally to GameObjects, like all other Behaviours.
After adding, you have to add a new row. Click the ‘+’ at the bottom.
In the new row, you can choose a component which property you want to set. In this example, the ‘Skinnend Mesh Renderer’ is selected. After you chose the component, you can choose the property you want to set. Then select the protected asset. (This asset has to be in a Resources folder!)
The ‘Protected Asset Loader’ loads then the protected assets in its Awake method. So you can use the protected assets after the Awake calls.
Step 3: Building…
In Step 1 you marked some assets you want to protect. To protect them now, go to Unity Window->Asset Protection Workflow.
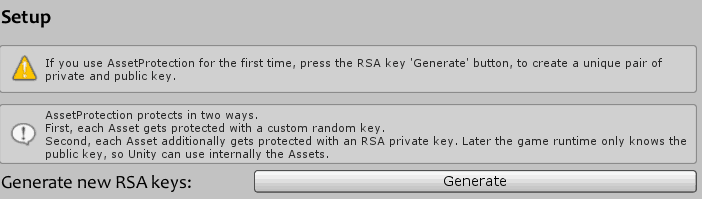
On your first time using AssetProtection, you have to create a pair of RSA keys. One used to protect the assets and one used to load them while runtime.
Step 3.1: Protect your marked Assets
Using the created RSA keys you have to protect your marked assets. Either you can protect the assets for the build target or the editor platform.

(Important note! You have to do this every time you mark new assets to get protected or modify some protected one!)
Step 3.2: Make orignal Assets invisible
After you protect your marked assets, you have to make the original ones invisible for the build.

Step 3.3: Build
The steps are always the same. Mark the assets you want to protect. Protect them through the Asset Protection Workflow Window. Then make the original assets invisible for the build application.
The last step is to build your application. That’s all. After the game got built, the original assets will be set visible again (automatically).